I don’t know about you but I am loving everything that is blooming right now! One of my favorite things to decorate with is fresh flowers. I think it brightens up a room so much!
A couple weeks ago at Michael’s I found some tiny little glass vases for .99. I thought they would be fun to set around with some smaller blooms in them. I couldn’t find just the right spot to display them though.
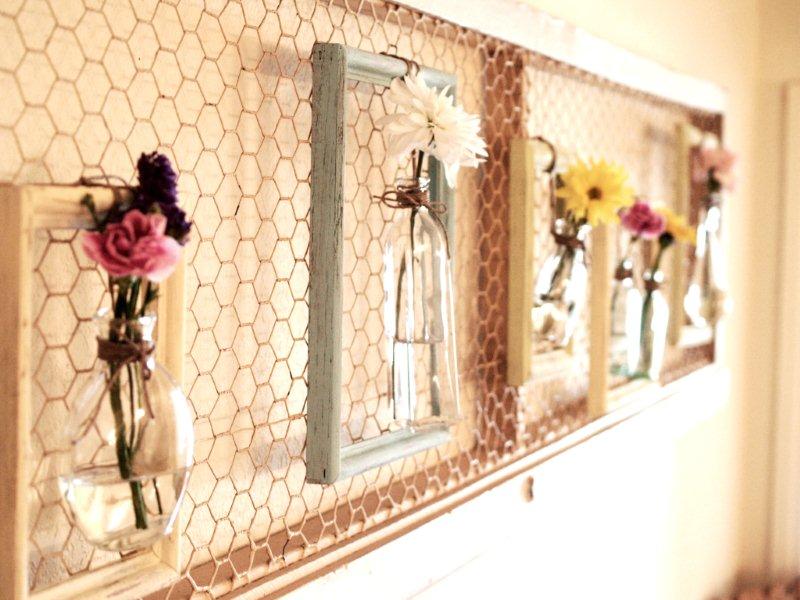
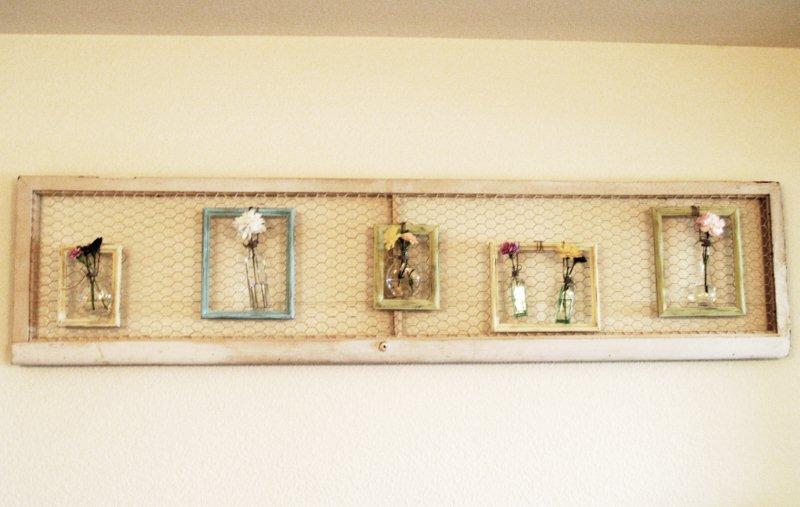
Until now! In trying to come up with a place to display the little vases – I realized that I had lots of space – on the wall of my dining room!
I have had a huge chicken wire screen door hung on the wall of my dining room for years. I change out the display on it often, cause I’m fickle like that. ;)
I have had a huge chicken wire screen door hung on the wall of my dining room for years. I change out the display on it often, cause I’m fickle like that. ;)
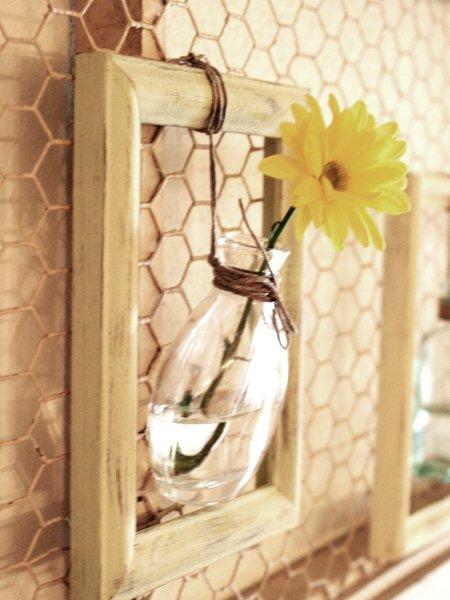
It seemed perfect for my little vase display and I love it!
Isn’t it bright and cheery? These flowers are pretty special to me too. They were part of two big bunches waiting here for me when I arrived home from Creative Estates last weekend.
And not only were there 2 big bunches – but they were still in the paper, because Mr. F.T. knows how much I love to arrange them.
Is that the sweetest or what??
And not only were there 2 big bunches – but they were still in the paper, because Mr. F.T. knows how much I love to arrange them.
Is that the sweetest or what??
So let’s get started. This is seriously super easy.
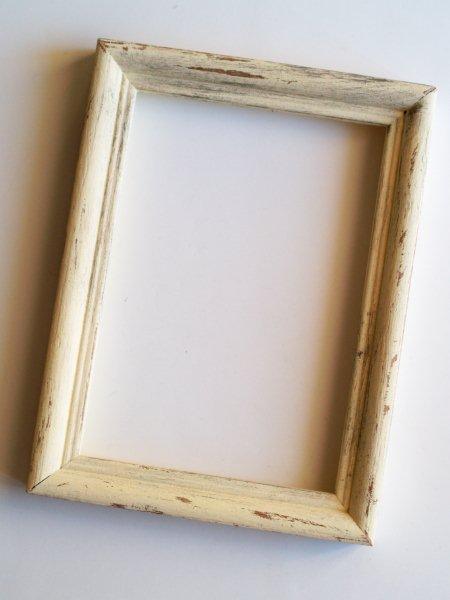
You’ll need frames, vases (one or two per frame), and twine.
If you are going to redo your frames, then you’ll need some paint too. ;)
If you are going to redo your frames, then you’ll need some paint too. ;)

If you have frames that you are happy with – you can skip this step.
I have a stash of ucky old oak frames – some of them were happy to donate themselves for a makeover. :)
I have a stash of ucky old oak frames – some of them were happy to donate themselves for a makeover. :)
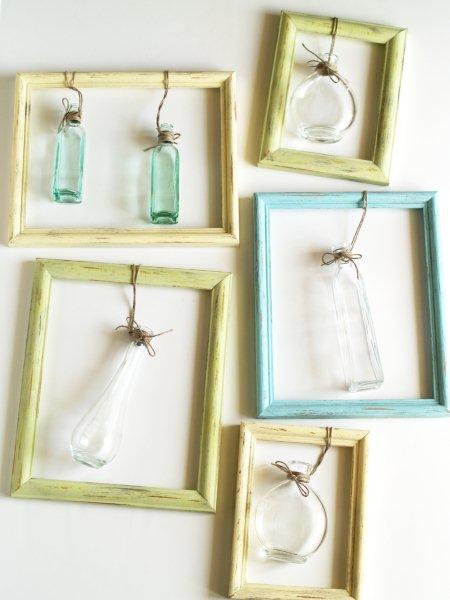
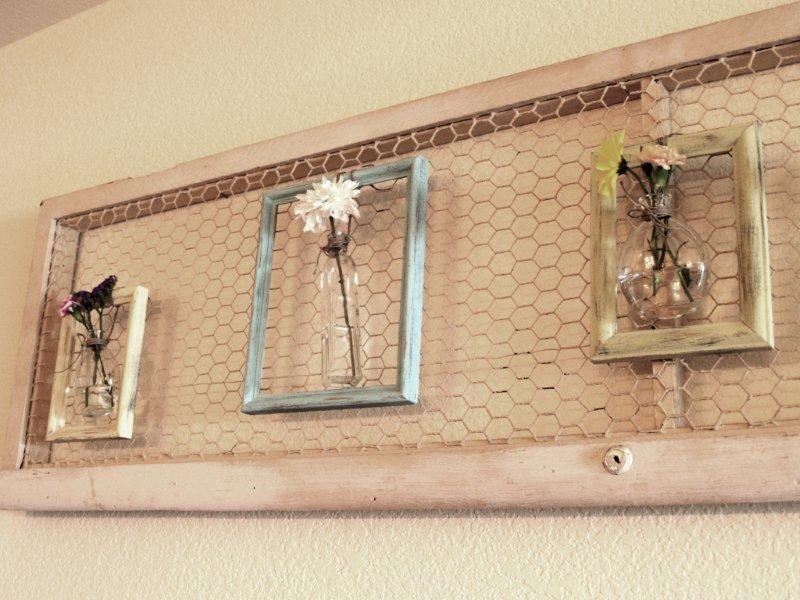
Start by painting your frames in the colors you’d like. I went for Spring-y colors – a blue, mossy green and a pale yellow.
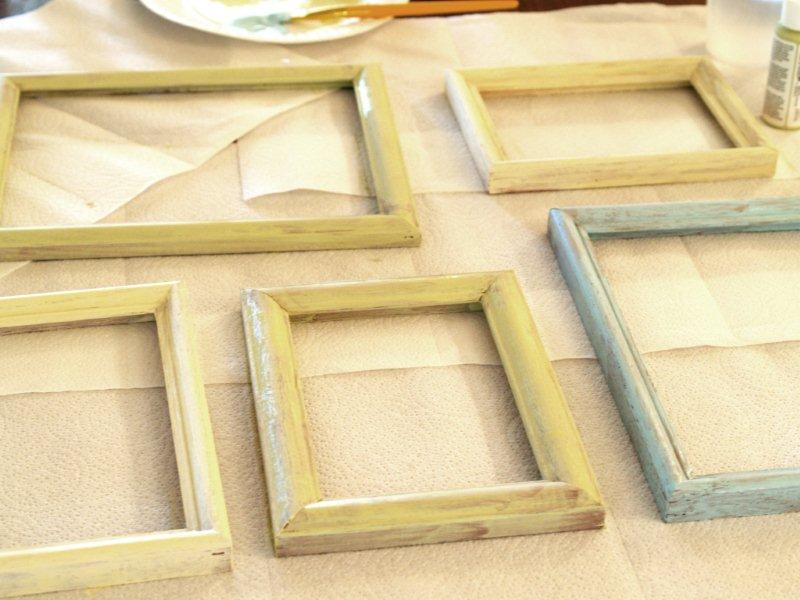
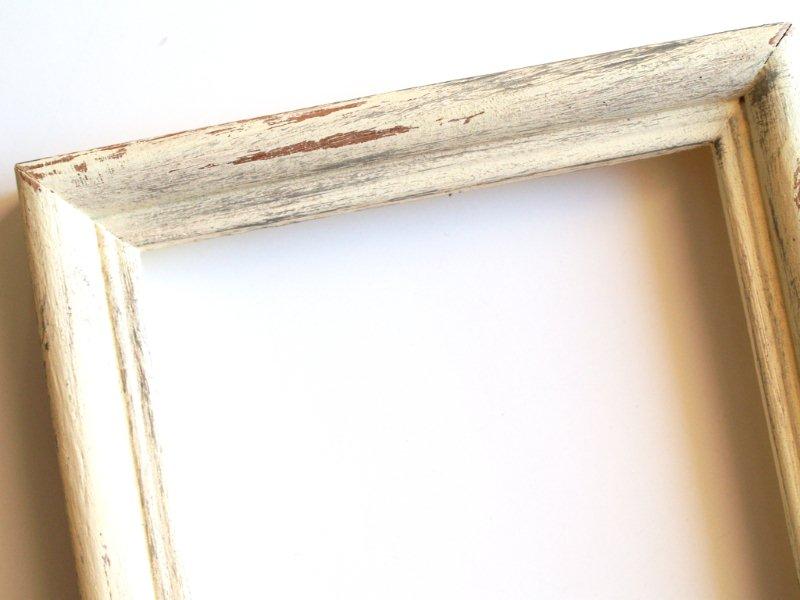
Make sure your frames are covered well – and that you paint the inside section where the glass goes as well. Since they’ll be open, this part could be visible from some angles when you hang it.
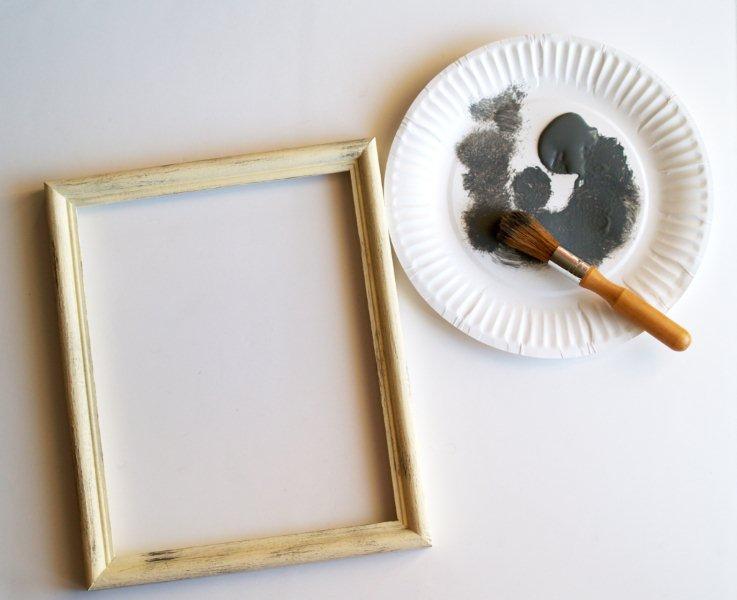
Once your frames are dry, brush on a contrasting color - I used dark gray.
Get the brush wet, then circle it on a paper plate to get almost all the paint off. Brush the paint lightly over the frame to add some contrasting color. This will age the frame a bit.
Get the brush wet, then circle it on a paper plate to get almost all the paint off. Brush the paint lightly over the frame to add some contrasting color. This will age the frame a bit.
Once the paint is completely dry – sand off some of the paint you just put on. We’re going for intentionally rustic here. ;)
Don’t sand all in one direction – it won’t look natural. Sand some in one direction, then switch and do a little more the other direction.
Don’t sand all in one direction – it won’t look natural. Sand some in one direction, then switch and do a little more the other direction.
Once your frames are all ready and dry, cut your twine for the vases. I used about 40″ of twine per vase.
I didn’t want the twine glued on because I want to be able to wash the vases. But I wanted it to be sturdy so were going to do some wrapping and knotting here.
I didn’t want the twine glued on because I want to be able to wash the vases. But I wanted it to be sturdy so were going to do some wrapping and knotting here.
Loop the twine around the top of the frame and bring the ends up through the loop.
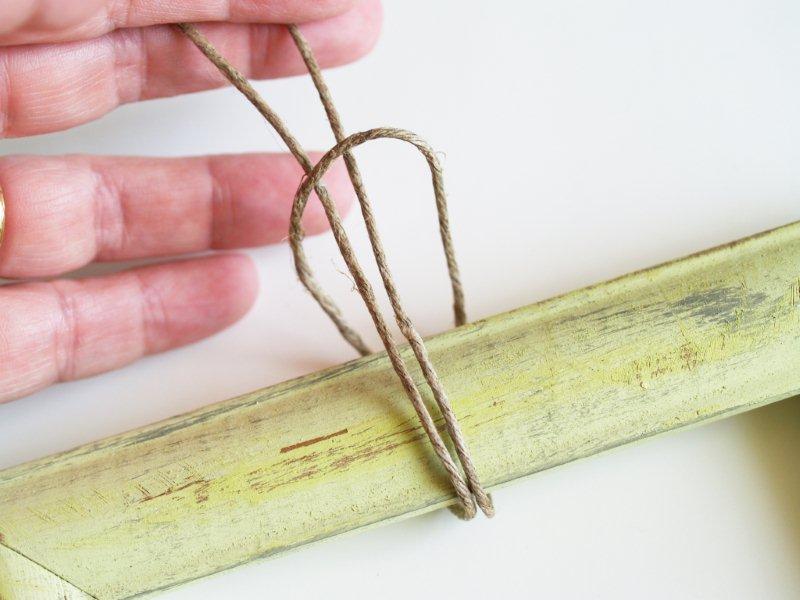
Pull this tight so that the doubled ends hang down into the frame.
Place the vase in the frame about where you want it to hang and measure where the twine hits the neck.
Place the vase in the frame about where you want it to hang and measure where the twine hits the neck.
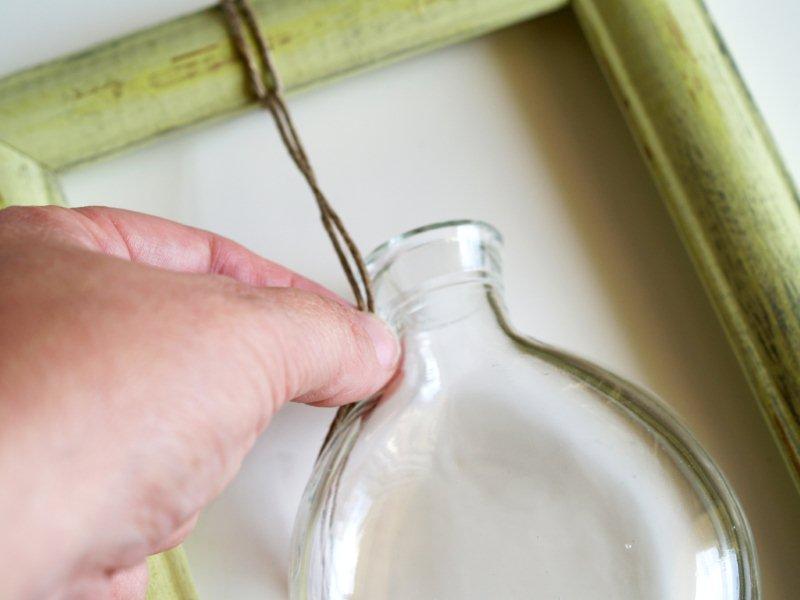
Make a knot in the twine right at the neck.

Align the knot with the back of the vase and begin wrapping the two ends of twine opposite directions around the neck of the vase.
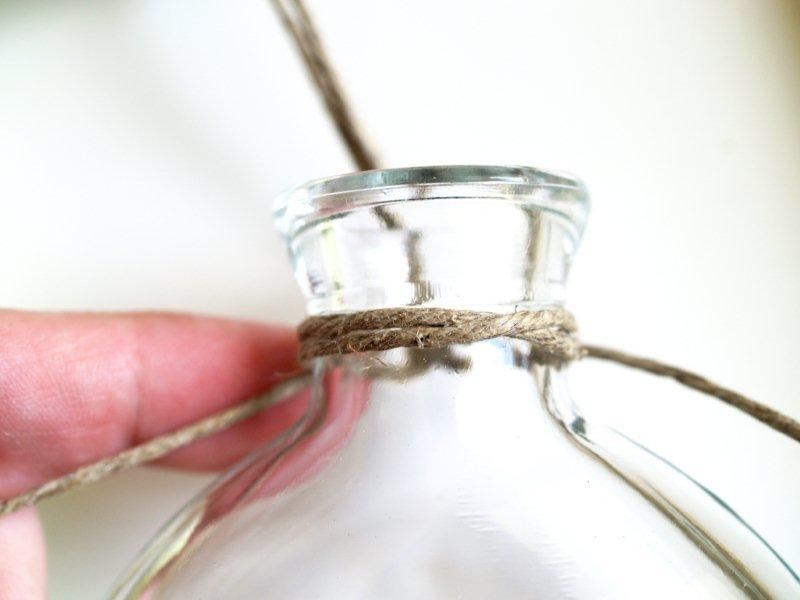
Continue wrapping until there about 3 or 4 inches on each end. Tie the remainder in a bow on the front of the vase.
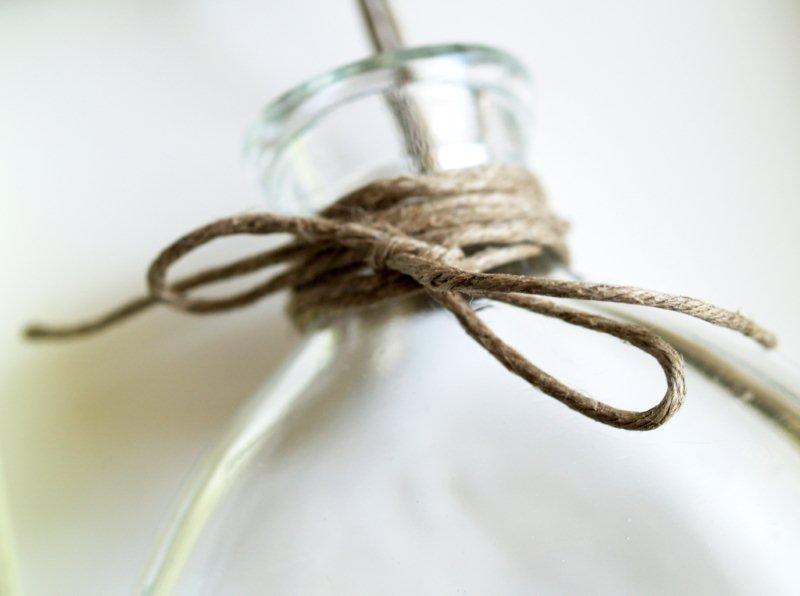
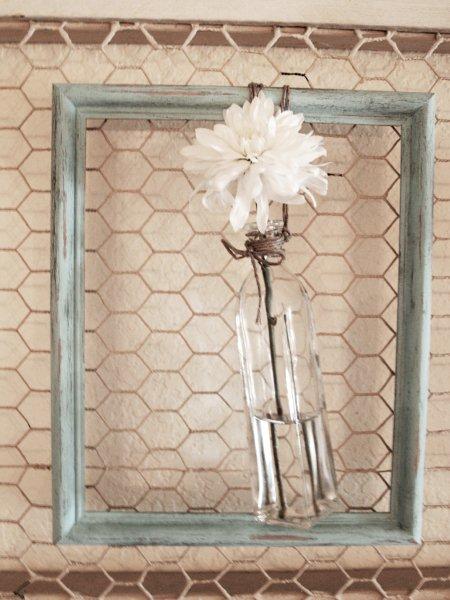
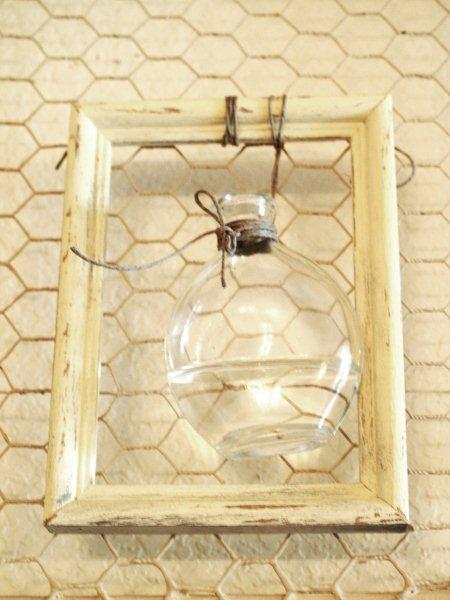
Now you have a pretty vase tied in your frame!
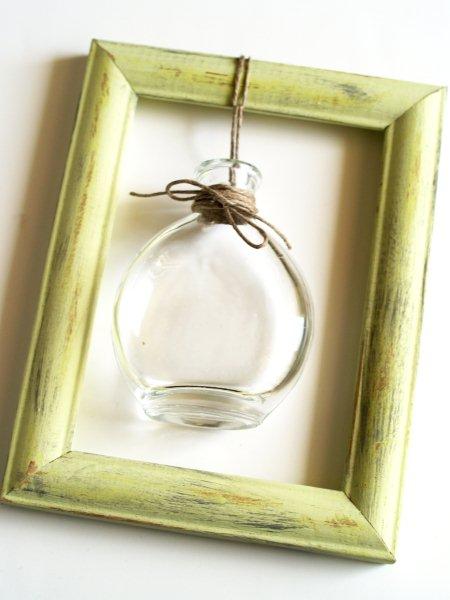
Continue with all your other frames.
And that’s pretty much it! See? So simple!!
Hang up your frames on the wall. You can rest them on nails (if you leave the nails showing it adds to the rustic look).
I tied mine to the chicken wire with more twine.
I tied mine to the chicken wire with more twine.
Add water to the vases. If you are using tiny bottles like these, you’ll probably need a funnel.
Add your flowers to the vases – and you’re all ready for spring!
This would work so great as a wall grouping or a mantel display – there are so many options!
What do you think??
I’m linking to Today’s Creative Blog, Met Monday, Skip to my Lou, Tutorials & Tips Tuesday,
and the other fabulous parties on the sidebar – make sure you check them out!
and the other fabulous parties on the sidebar – make sure you check them out!
Ingen kommentarer:
Legg inn en kommentar